char broil big easy turkey fryer manual
Char-Broil Big Easy Turkey Fryer Manual: A Comprehensive Guide (Updated 05/04/2026)
Welcome! This comprehensive manual unlocks the full potential of your Char-Broil Big Easy, guiding you through setup, operation, and maintenance for delicious results.
Congratulations on choosing the Char-Broil Big Easy! This innovative appliance redefines outdoor cooking, moving beyond traditional frying to offer a versatile platform for roasting, smoking, and, of course, perfectly fried turkey. This manual serves as your complete guide, designed to ensure a safe, enjoyable, and incredibly flavorful cooking experience.
The Big Easy isn’t just about convenience; it’s about unlocking a world of culinary possibilities. Whether you’re a seasoned pitmaster or a novice cook, this fryer simplifies the process while delivering professional-grade results. We’ll walk you through every step, from initial setup and safety precautions to mastering the art of the perfect fry. Get ready to impress your family and friends with consistently delicious meals!
What is the Char-Broil Big Easy Turkey Fryer?
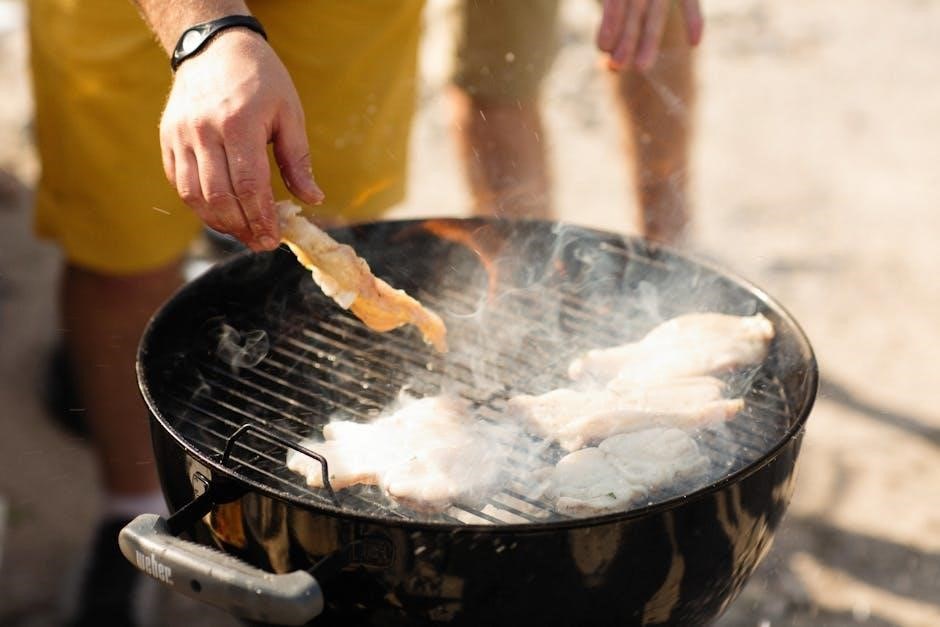
The Char-Broil Big Easy is a propane-fueled outdoor cooker specifically engineered for fast, efficient, and flavorful cooking. While renowned for its ability to fry a turkey in roughly half the time of conventional methods, its capabilities extend far beyond just poultry. This versatile appliance functions as a roaster, smoker, and steamer, allowing you to prepare a diverse range of dishes.
Unlike traditional deep fryers, the Big Easy utilizes a closed-pot system, enhancing safety and minimizing oil splatter. Its design promotes even heat distribution, resulting in consistently cooked food. It’s a complete cooking solution, offering a convenient alternative to indoor ovens and grills, especially during peak holiday seasons or large gatherings.
Key Features and Benefits
The Char-Broil Big Easy boasts several standout features. Its large capacity accommodates turkeys up to 14 pounds, while the infrared heating system ensures rapid and even cooking. The included basket lift simplifies lowering and raising food, minimizing risk. A precise temperature gauge allows for accurate monitoring, crucial for optimal results.
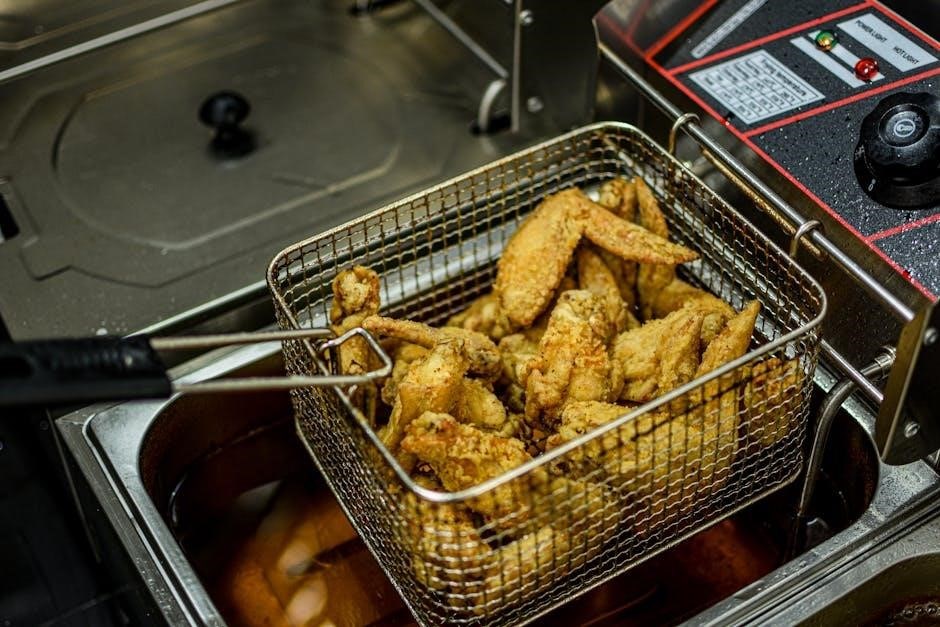
Benefits include significantly reduced cooking times compared to conventional ovens, resulting in juicier, more flavorful food. The closed-pot design enhances safety and reduces oil usage. Its versatility extends beyond turkey – roast chicken, ribs, or even steam seafood! Easy cleanup and portability further contribute to a convenient outdoor cooking experience.
Safety First: Important Precautions
Prioritize safety! This section details crucial guidelines for operating your Big Easy, covering oil handling, electrical connections, and proper fryer placement.
General Safety Guidelines
Read Carefully: Before operating your Char-Broil Big Easy, thoroughly review this entire manual. Understanding all instructions and warnings is paramount for safe and enjoyable frying. Always operate the fryer outdoors, away from any structures, flammable materials, and pedestrian traffic. Maintain a clear zone of at least 10 feet around the unit.
Adult Supervision: Never leave the fryer unattended during operation. Constant adult supervision is required to monitor temperature and address any potential issues. Keep children and pets a safe distance away at all times. Wear appropriate safety gear, including long sleeves, gloves, and eye protection, to prevent burns.
Emergency Preparedness: Keep a fire extinguisher (Class B) readily accessible. Know how to operate it and be prepared for potential grease fires. Never use water to extinguish a grease fire!
Oil Safety & Handling
Hot Oil Hazard: The oil used in the Char-Broil Big Easy reaches extremely high temperatures. Exercise extreme caution when handling hot oil to prevent severe burns. Never overfill the fryer with oil; adhere strictly to the recommended oil level guidelines detailed in this manual.
Oil Type: Use only high-smoke-point oils specifically recommended for turkey frying, such as peanut or canola oil. Avoid using olive oil or other oils with lower smoke points. Always check the oil for any signs of contamination before heating.
Safe Disposal: Allow the oil to cool completely before handling. Dispose of used oil responsibly, following local regulations. Never pour oil down the drain.
Electrical Safety
Grounding Instructions: Ensure the Char-Broil Big Easy is properly grounded to prevent electric shock. Never operate the fryer with a damaged power cord or plug. If the cord is damaged, it must be replaced by a qualified technician.
Outdoor Use Only: This appliance is designed for outdoor use only. Do not operate it indoors or in enclosed spaces. Keep the power cord away from heat sources and sharp edges.
GFCI Protection: Always plug the fryer into a Ground Fault Circuit Interrupter (GFCI) outlet to minimize the risk of electrical shock. Regularly test the GFCI outlet to ensure it’s functioning correctly. Avoid using extension cords if possible.
Fryer Placement & Stability
Stable Surface: Position the Char-Broil Big Easy on a flat, level, and non-combustible surface. Uneven ground significantly increases the risk of tipping and hot oil spillage. Avoid placing the fryer on decks, patios with flammable materials, or near structures.
Clearance: Maintain a minimum of 3 feet of clearance around the fryer, free from any combustible materials like wood, paper, or gasoline. Ensure adequate ventilation to prevent gas buildup.
Wind Protection: Shield the fryer from strong winds, which can cause uneven heating and potential flare-ups. Never leave the fryer unattended during operation. Regularly check the stability of the unit throughout the cooking process.
Setting Up Your Big Easy
Preparation is key! This section details unboxing, assembly, propane connection, and the crucial initial burn-off procedure for optimal performance.
Unboxing and Component Check
Carefully unpack your Char-Broil Big Easy Turkey Fryer, ensuring you have ample space to avoid damage during assembly. Begin by verifying all listed components are present. You should find the fryer base, cooking pot, lid, oil drain valve, thermometer probe, lifting hook, and regulator assembly.
Inspect each part for shipping damage – dents, scratches, or missing pieces. Refer to the parts diagram in this manual to confirm everything matches. The propane tank is not included and must be purchased separately.
Retain the packaging for potential future transport or warranty claims. If any components are missing or damaged, immediately contact Char-Broil customer support for assistance. Do not attempt to assemble with incomplete or faulty parts; this could compromise safety and performance.
Assembling the Fryer
Begin assembly by attaching the legs to the fryer base, securing them with the provided bolts. Ensure they are firmly tightened for stability. Next, carefully place the cooking pot onto the base, aligning it correctly with the burner assembly.
Connect the thermometer probe to the designated port on the fryer, ensuring a secure connection for accurate temperature readings. Attach the lid, verifying it fits snugly and allows for proper ventilation.
Finally, install the oil drain valve, tightening it securely to prevent leaks during operation. Double-check all connections before proceeding. A properly assembled fryer is crucial for safe and efficient turkey frying.
Propane Tank Connection
Begin by ensuring the propane tank valve is completely closed before attempting any connection. Inspect the regulator hose for any signs of damage – cracks or wear – and replace if necessary. Carefully screw the regulator onto the propane tank’s valve, hand-tightening only.
Never use tools to tighten the connection, as this can damage the regulator. Once connected, perform a leak test by applying a soapy water solution to the connection point.
If bubbles appear, immediately turn off the propane tank and re-tighten the connection. A secure and leak-free propane tank connection is paramount for safe operation.
Initial Burn-Off Procedure
Before your first turkey fry, a crucial step is performing a complete burn-off. This process eliminates any residual manufacturing oils or debris from the fryer. Ensure the fryer is positioned outdoors in a well-ventilated area, away from flammable materials.
Connect the propane tank and open the tank valve. Ignite the burner according to the lighting instructions; Allow the fryer to operate on high for at least 15-20 minutes.
Observe the oil; it may initially smoke. This is normal as the burn-off process cleans the system. After the burn-off, allow the fryer to cool completely before proceeding with turkey preparation.
Turkey Preparation for Frying
Proper turkey prep is key! Thorough thawing, brining or seasoning, and careful drying are essential for a safe and flavorful fried turkey experience;
Thawing the Turkey
Complete thawing is paramount for safety. A partially frozen turkey can cause a dangerous steam explosion when introduced to hot oil. The safest method is refrigerator thawing, allowing approximately 24 hours for every 4-5 pounds of turkey.
Alternatively, you can thaw in cold water, changing the water every 30 minutes to maintain a safe temperature. Calculate roughly 30 minutes per pound for water thawing. Never thaw at room temperature, as this encourages bacterial growth.
Ensure the turkey is fully pliable throughout, with no ice crystals remaining in the cavity or limbs. A thawed turkey should feel soft and not rigid. Confirm complete thawing before proceeding to brining or seasoning – a properly thawed bird ensures even cooking and a delicious final product.
Brining and Seasoning Options
Brining significantly enhances flavor and moisture retention. A basic brine consists of water, salt, and sugar, often with added aromatics like herbs, spices, and citrus. Submerge the thawed turkey in the brine for 12-24 hours in a food-safe container, refrigerated.
Dry brining, applying a salt and spice rub directly to the skin, is another effective method. For seasoning, consider a blend of paprika, garlic powder, onion powder, black pepper, and cayenne pepper.
Experiment with your favorite flavors! Injecting marinades directly into the turkey can also add intense flavor. Ensure any injected marinade is food-grade and compatible with high-heat cooking. Pat the turkey dry before frying to promote crispy skin.
Turkey Size and Oil Capacity
The Char-Broil Big Easy has a maximum turkey capacity of 14 pounds. Exceeding this weight can lead to unsafe operation and incomplete cooking. Always verify your turkey’s weight before beginning.
The fryer requires approximately 3-5 gallons of peanut oil, depending on the turkey’s size and shape. Crucially, never overfill the oil pot! Determining the correct oil level before heating is paramount for safety.
Perform a water displacement test: place the turkey in the empty oil pot, fill with water until it covers the bird by at least an inch, then remove the turkey and mark the water level. This indicates the maximum safe oil fill line.
Preparing the Turkey for Immersion
Thorough preparation is key to a safe and delicious fried turkey. Begin by removing the neck and giblets from the turkey cavity. Pat the turkey completely dry, inside and out, with paper towels – moisture causes dangerous splattering when it hits hot oil.
Ensure the turkey is fully thawed; frozen portions will create a hazardous steam explosion. Never fry a partially frozen turkey! Injecting marinade or seasoning is optional, but avoid injecting near the skin.
Secure the legs with kitchen twine and tuck the wings under the body to maintain a compact shape during frying. This promotes even cooking and prevents uneven heat distribution.

The Frying Process: Step-by-Step
Follow these crucial steps for perfectly fried turkey! Carefully lower the prepared turkey into the preheated oil, monitor temperature, and cook to golden perfection.
Determining the Correct Oil Level
Accurate oil level is paramount for safe and successful frying. Before heating, place the fully thawed and prepared turkey into the empty fryer basket. Carefully lower the basket into the pot, simulating the frying position. Add water until the turkey is completely submerged, noting the water level on the pot’s interior.
Remove the turkey and completely dry the pot. The water level mark indicates the maximum oil fill line. Never exceed this level, as it can cause dangerous overflow when the turkey is added. Always ensure sufficient oil to fully cover the turkey during the frying process. Underfilling risks uneven cooking and potential damage to the heating element.
Remember, oil volume will slightly increase when heated, so precise measurement is vital for a safe and enjoyable frying experience.
Heating the Oil to the Optimal Temperature
Achieving the correct oil temperature is crucial for crispy skin and thoroughly cooked turkey. Begin by connecting the propane tank securely and following the lighting instructions detailed in the ‘Propane Tank Connection’ section. Set the control knob to the ‘High’ setting to initiate heating.
Utilize the built-in thermometer to monitor the oil’s progress. The optimal frying temperature for a Char-Broil Big Easy is 350°F (177°C). This process typically takes 45-60 minutes, depending on ambient temperature and propane tank pressure.
Once the oil reaches 350°F, reduce the heat to maintain a consistent temperature throughout the frying process. Frequent monitoring is essential; adjust the control knob as needed to prevent fluctuations.
Lowering the Turkey into the Oil
Exercise extreme caution during this step! Ensure the turkey is completely thawed and dry, and the oil has reached and stabilized at 350°F (177°C). Attach the turkey lifting hook securely to both legs of the prepared turkey, ensuring a balanced hold.
Slowly and steadily lower the turkey into the hot oil, maintaining a controlled descent. Never drop the turkey, as this can cause dangerous splattering. The turkey should be fully submerged without overflowing the oil.
Immediately after submersion, monitor for any excessive bubbling or splattering, which may indicate residual moisture. Continue to closely observe the oil temperature and adjust the burner as needed.
Monitoring Temperature and Cooking Time
Maintaining a consistent oil temperature of 350°F (177°C) is crucial for safe and even cooking. Utilize the built-in thermometer to regularly monitor the oil’s temperature, adjusting the burner control knob as needed. Frequent checks – every 10-15 minutes – are recommended.
Cooking time is approximately 3-4 minutes per pound of turkey. A 12-pound turkey will typically require 36-48 minutes. However, always verify doneness with a meat thermometer inserted into the thickest part of the thigh; it should reach 165°F (74°C).
Avoid lifting the turkey during cooking, as this causes temperature fluctuations. Patience and consistent monitoring are key to a perfectly fried turkey.
Post-Frying Procedures & Maintenance
Safety and cleanliness are paramount! This section details the proper procedures for cooling, storing oil, cleaning components, and winterizing your fryer.
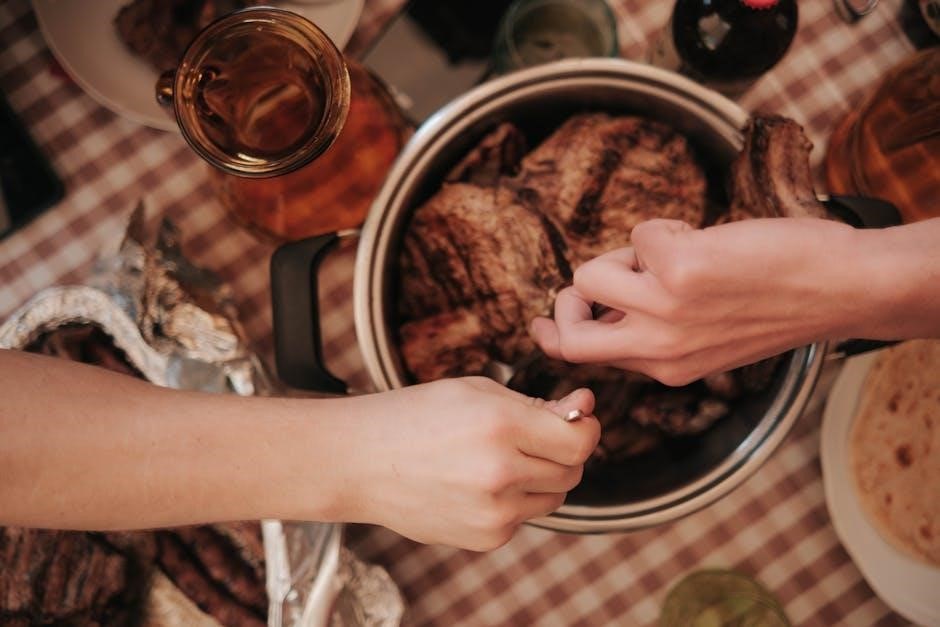
Safely Removing the Turkey
Caution is key when extracting the cooked turkey! Begin by carefully disconnecting the propane tank from the fryer. Allow the unit to cool slightly, but not completely, as a warmer turkey is easier to handle. Wearing heavy-duty, heat-resistant gloves and using the provided lifting hook, slowly and steadily raise the turkey from the hot oil.
Avoid sudden movements that could cause oil to splash. Support the turkey’s weight fully as you lift it clear of the oil, allowing excess oil to drain back into the fryer. Transfer the turkey immediately to a large, sturdy roasting pan or cutting board. Never attempt to move the turkey while it’s excessively hot, and always prioritize personal safety throughout this process. Proper lifting technique prevents burns and ensures a smooth transition from fryer to carving station.
Cooling and Storing the Oil
Allow the oil to cool completely before attempting to handle or store it – this is crucial for safety! This process can take several hours, even overnight. Once cooled, carefully strain the oil through a fine-mesh sieve lined with cheesecloth to remove any food particles. This extends the oil’s lifespan and prevents unpleasant flavors in future uses.
Store the filtered oil in a tightly sealed, food-grade container in a cool, dark, and dry location. Properly stored oil can be reused 2-3 times for frying, but discard it if it becomes cloudy, dark, or develops an off-odor. Never pour used oil down the drain; dispose of it responsibly at a designated recycling center.
Cleaning the Fryer Components
Always ensure the fryer is completely cool and disconnected from the propane tank before cleaning. Remove the pot, burner assembly, and any other detachable parts. Wash these components with warm, soapy water, using a non-abrasive sponge or cloth. Avoid harsh chemicals or scouring pads that could damage the surfaces.
Pay close attention to cleaning the burner assembly, ensuring all ports are clear of debris. Rinse thoroughly and allow all parts to dry completely before reassembling. Wipe down the exterior of the fryer with a damp cloth. Regular cleaning prevents grease buildup and ensures optimal performance and longevity of your Char-Broil Big Easy.
Winterizing Your Big Easy
Proper winterization protects your Char-Broil Big Easy from damage during freezing temperatures. After the final use of the season, thoroughly clean the fryer as detailed in the cleaning section. Completely drain all oil from the pot and burner assembly. Inspect the propane hose for cracks or damage and replace if necessary.
Disconnect the propane tank and store it separately in a well-ventilated area. Cover the fryer with a waterproof cover to shield it from the elements. Store the unit in a dry, sheltered location, such as a garage or shed, to prevent rust and corrosion. Regular maintenance ensures a quick start next season!
Troubleshooting Common Issues
Facing problems? This section provides solutions for ignition failures, temperature inconsistencies, uneven cooking, and grease-related issues with your Big Easy fryer.
Fryer Won’t Ignite
Problem: Your Char-Broil Big Easy fails to ignite, preventing you from frying your turkey. Several factors could contribute to this issue. First, verify the propane tank is full and properly connected to the regulator. Ensure the connection is snug and there are no kinks in the hose.
Next, check the igniter. Is it clicking? If not, the battery may need replacing. If it’s clicking but no ignition occurs, the igniter itself might be faulty. Try manually lighting the burner using a long-handled lighter, following safety precautions.
Inspect the burner for any obstructions, such as dirt or debris. A clogged burner won’t ignite. Finally, ensure the safety shut-off valve isn’t engaged. If problems persist, consult the full manual or Char-Broil support.
Oil Temperature Fluctuations
Issue: Experiencing inconsistent oil temperatures during frying can lead to unevenly cooked turkey. Several factors can cause this. Ambient temperature plays a role; cold weather requires longer preheating. Wind can significantly impact temperature, so position the fryer strategically.
Turkey size and temperature also contribute. A frozen or very cold turkey will drastically lower the oil temperature upon immersion. Ensure the turkey is fully thawed. Overfilling the oil pot reduces efficiency and causes fluctuations.
Monitor the burner flame; a weak or uneven flame indicates a potential regulator or propane issue. Regularly check the thermometer’s accuracy. If fluctuations persist, reduce the turkey size or consider a wind shield.
Uneven Cooking
Problem: Discovering parts of your turkey are undercooked while others are perfectly done is frustrating. Insufficient thawing is a primary cause; ice crystals drastically impede even heat penetration. Ensure complete thawing before frying. Improper oil temperature also contributes – too low, and the turkey absorbs oil instead of cooking.
Uneven seasoning can create taste discrepancies, mimicking uneven cooking. Thoroughly season both inside and out. Overcrowding the oil pot (if attempting multiple smaller items) hinders proper circulation.
Check internal temperatures in multiple locations (thigh, breast) with a meat thermometer. Rotate the turkey halfway through frying for more consistent results; A properly prepared and monitored turkey should cook evenly.
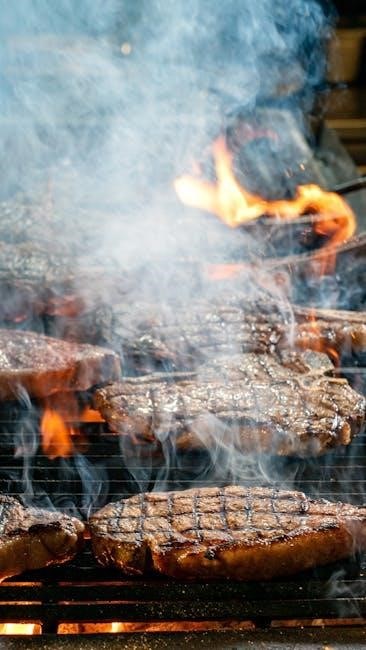
Grease Spillage & Flare-Ups
Grease spillage is a significant hazard; excess moisture in the turkey is the main culprit. Thoroughly pat the turkey dry, inside and out, before lowering it into the hot oil. Even seemingly dry turkeys retain hidden moisture. Avoid thawing in warm water, as this increases water absorption.
Flare-ups occur when dripping marinade or excess fat ignites. Ensure the turkey is completely free of marinades and seasonings containing sugar. Never leave the fryer unattended during operation. Keep a fire extinguisher (Class B) nearby.
Lower the turkey slowly to minimize splashing. If a flare-up occurs, immediately turn off the burner and carefully cover the pot (if equipped with a lid).